So you’ve decided to upgrade your Instagram shots of food and explore food photography more in depth? Perhaps you’ve decided your blog requires more mouth-watering photos to better represent the amazing dishes you share with readers. Or maybe you just want to document the incredible beauty of food and the memories, flavors, and stories that accompany it.
I’ve shot thousands of photos of food and had my work published in two cookbooks, including Made With Love, the Meals On Wheels Family Cookbook. Food photography is challenging and rewarding, but usually quite tasty. Below are the top ten things I figured out the hard way, but now you can be ten steps ahead. Go forth and be brilliant.
- Use the sun. Your best tool for food photography is a big, bright window. It’s better to have indirect sunlight to avoid casting harsh shadows, an easy way to diffuse the light is to tape up white paper. Daylight makes it easy to produce softly lit, naturally color balanced photos.
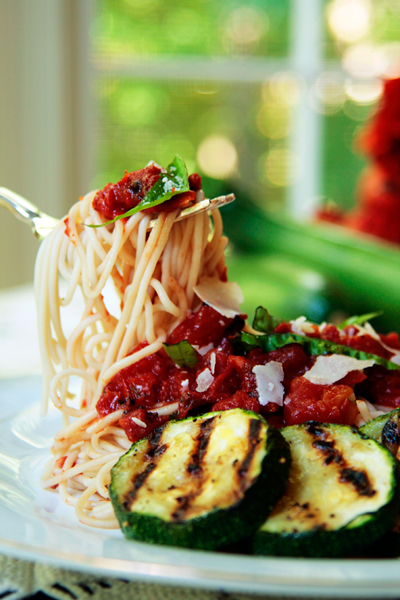
- Backlight. If your food is primarily backlit, the delicious textures that you are aiming to portray show up delightfully. The subject is likely to flatten out and lose detail when lit from the front. Don’t be tempted to use your flash, use reflectors or side lighting if you need more light.
- Undercook your food. Meat looks juicier, vegetables retain more water, shape, and color, and grains look fuller. You can fully cook breads and cakes though, those need to be done. You can use a broiler or blow torch to selectively brown food to give the crisp look we love to savor.
- Smaller plates mean bigger food. Size does matter. Smaller plates will make your food look bigger, providing the benefit that you don’t have to work with as much. Generous looking portions are the way to go! I’ve been known to give food a boost by putting folded paper towels under it or an upside down mug in a bowl of stew.
- Tell a story. Your photo will be more engaging if the viewer can imagine where they’d be if they could eat that delicious peach cobbler. Food is a central part of our life, we associate memories with it and break bread with loved ones around the table together. Connect to your audience by showing them not just the delicious food, but the great time they could have consuming it.
- Get creative. While deciding what story your photos will tell, your may find you need to add props to enhance it. I have created story lines by concocting beer out of apple cider vinegar and dish detergent bubbles and sprinkled crumbs around half eaten cookies next to a glass of milk and a coloring project. I have even seen food stylists whip up fresh delicious whipped cream to dollop over a wad of newspaper stuffed in a mug to emulate hot chocolate.
The important part is that these creative concoctions were never the focus of the shot, they were always background elements that added interest. - Oil works wonders. Everything looks sexier when oiled up: like green beans, chicken breasts, blueberries, even carrots. Oil gives you a sheen that allows you more time to take the photo. It also lends the feeling of fresh cooked, fresh washed, or just moist and delicious.
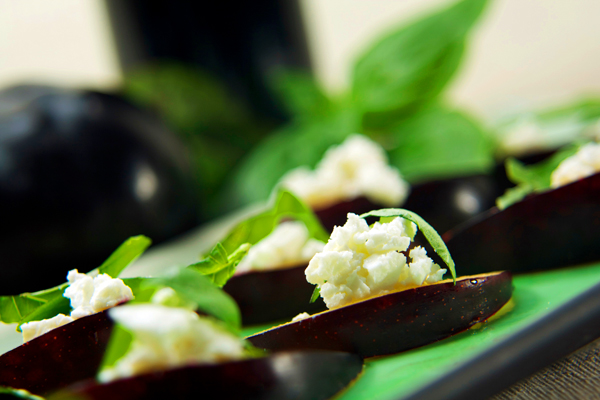
- Crop tightly. This applies to most photography. Make sure you frame your shot with care. Getting close to your subject provides more texture, detail, and eliminates distractions such as unrelated backgrounds or tablecloths.
- Use a tripod whenever possible. This ensures that your photo is crisp and clean. I was taught to go so far as to use a timer or remote to prevent any bump when the finger releases the shutter. Of course that teacher also told me to hold my breath during the 30 second exposure while I was standing 5 feet away.
- Don’t be afraid to change your angles. We have a tendency to photograph food from the 45 degree angle we are about to eat it from. Sometimes you want to get on the same level to show the flaky layers of a pastry or from above to show to beautiful designs on a cake. I usually start off on a tripod and then having captures the shots I need, I move around the food, freeing myself to find interesting angles.
In the end it’s all about experimenting for yourself and creating mouthwatering shots. So what are you waiting for? Happy shooting!
This post is also on Stokefire’s blog.

